Shroomwell’s mission is to create opportunities for all forest owners to grow Chaga.
We want to provide forest owners with the latest science-based information and are constantly developing new methods and technologies to make Chaga growing easier, faster and more profitable.
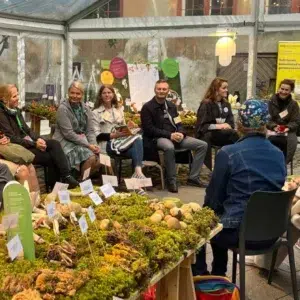
We know that a picture is worth a thousand words, so today we will give a visual overview of how to grow Chaga, starting from installing mushroom plugs to the completion of full-sized Chaga.
Chaga growing takes place in five stages:
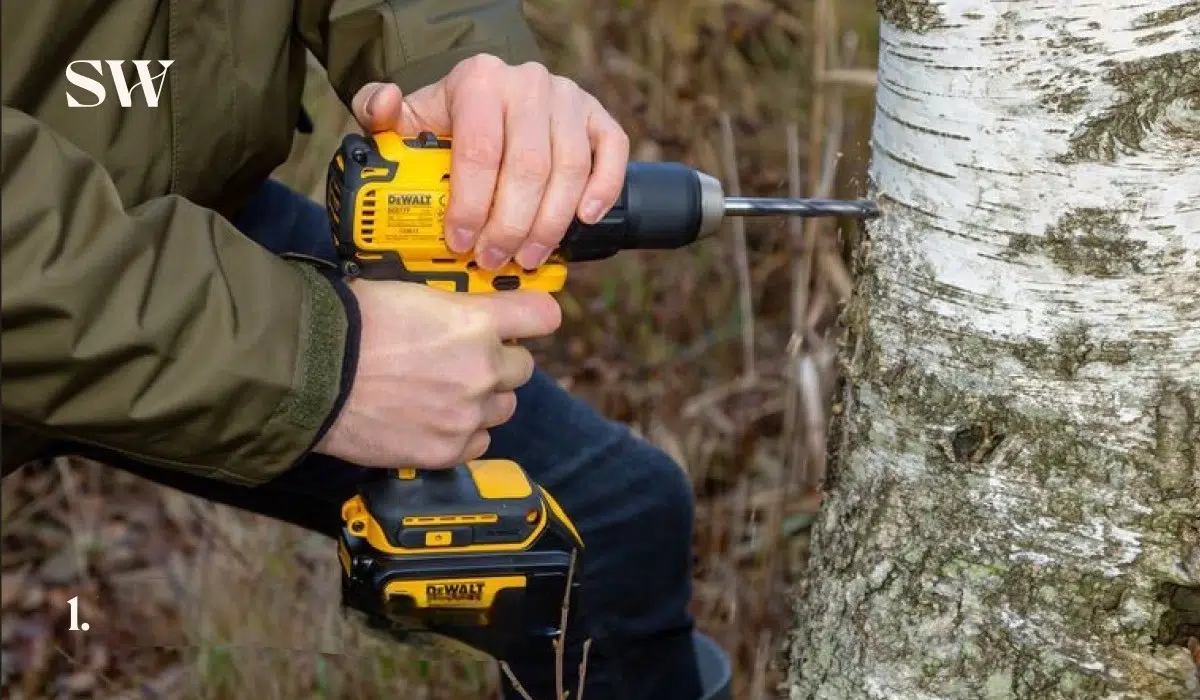
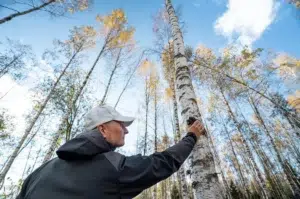
1. Installing the dowel – The journey of Chaga cultivation begins with a hole drilled into the tree trunk, where the fungal spores we have created find a favorable place to grow.
PS! We also offer the installation service of Chaga dowels ourselves, if necessary, to make the whole process as convenient as possible.
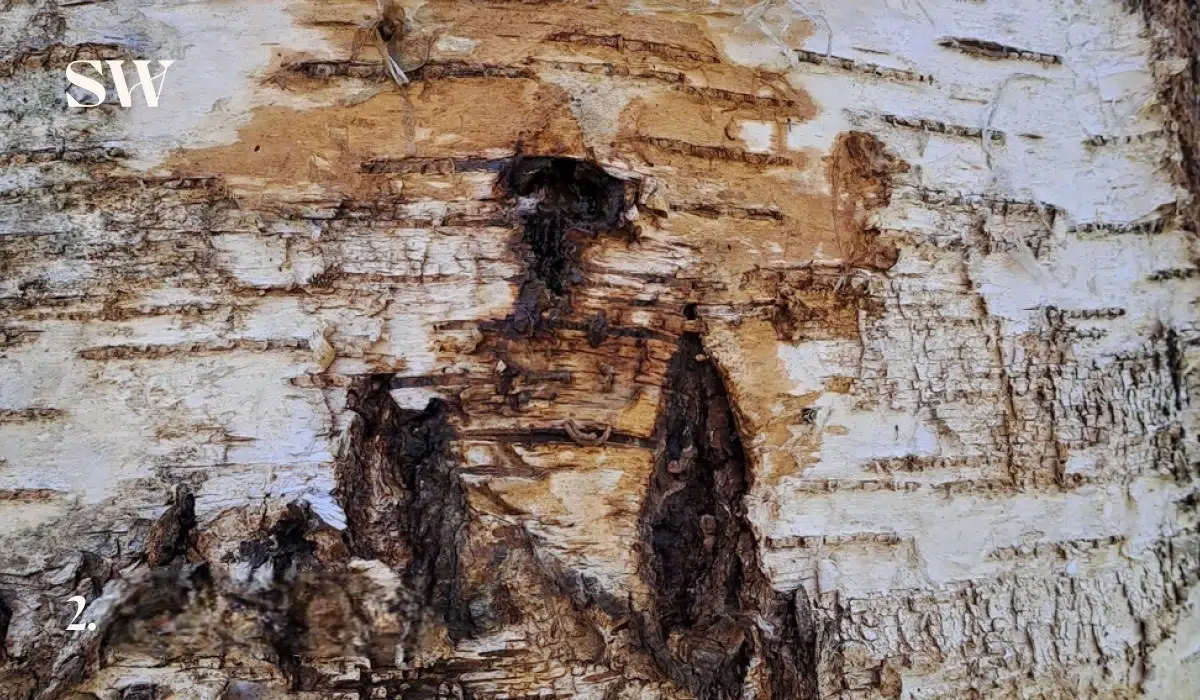
2. Initial Development – This is the first sign that something is starting to happen. The tree adapts and the first signs of Chagas emerging from inside the tree appear on its trunk.
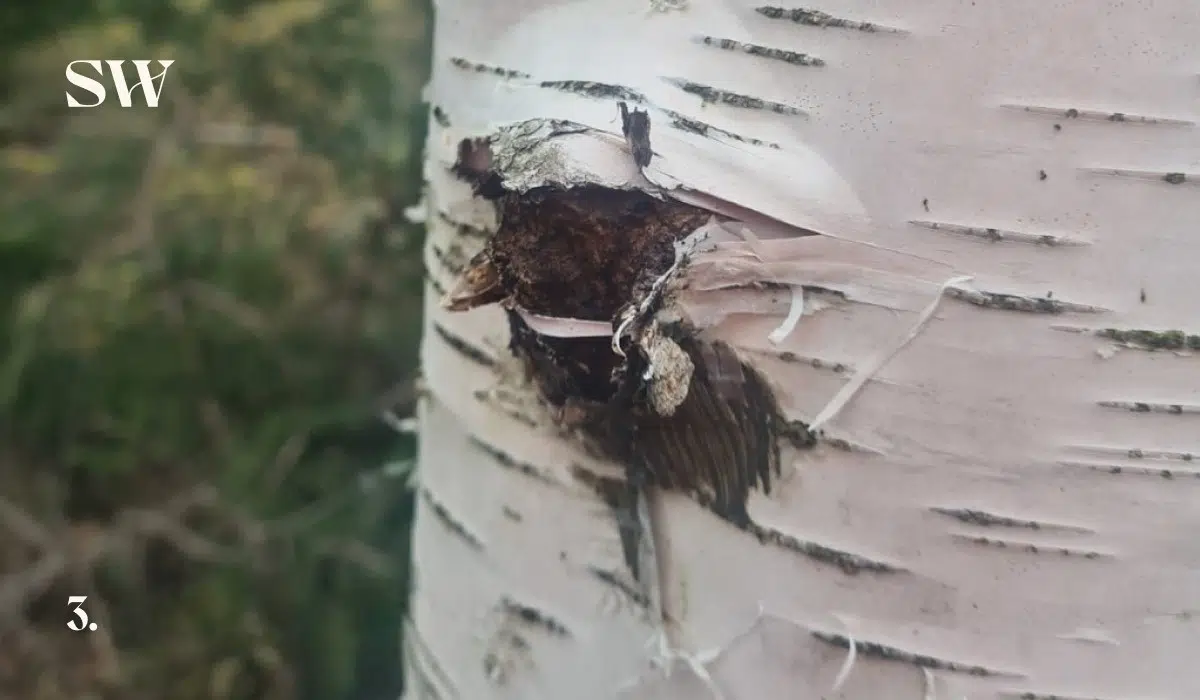
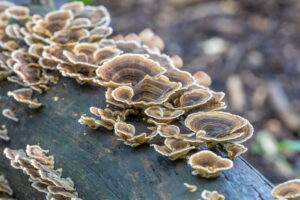
3. Accelerated growth – The situation is getting better and better, Chaga is starting to develop faster and the fungus is now also becoming visible on the outside of the stem.
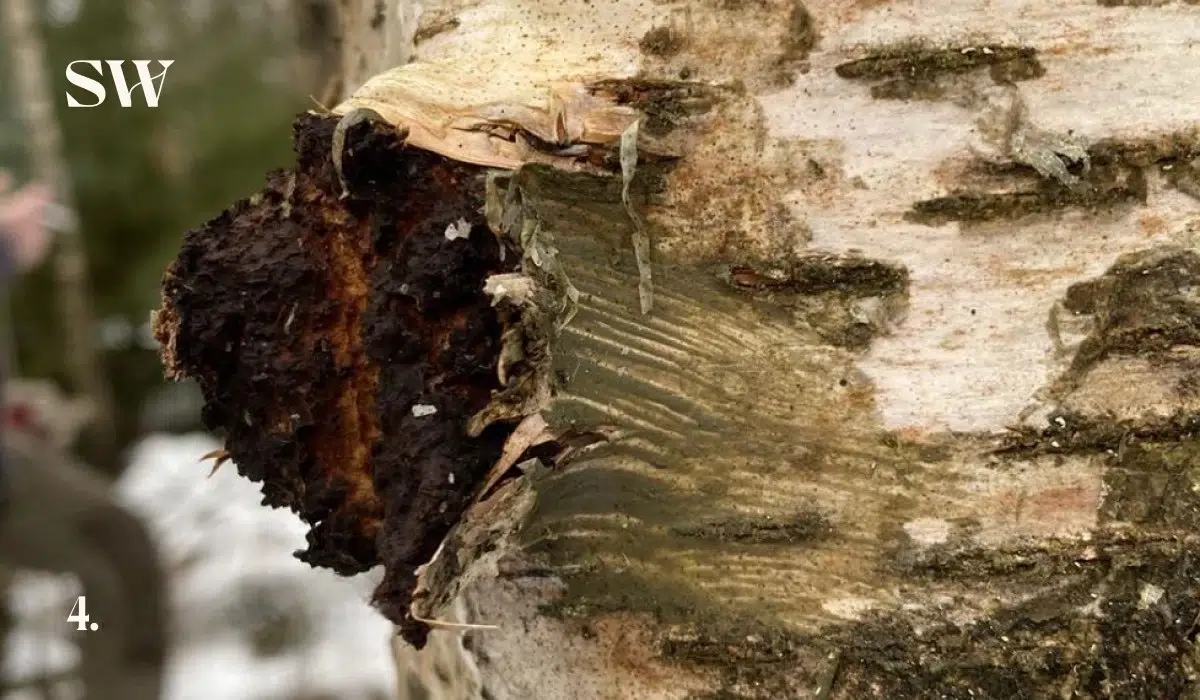
4. Chaga is growing – Now all you need to do is wait, because Chaga has reached its growth rate and the harvest will take place within 4-5 years.
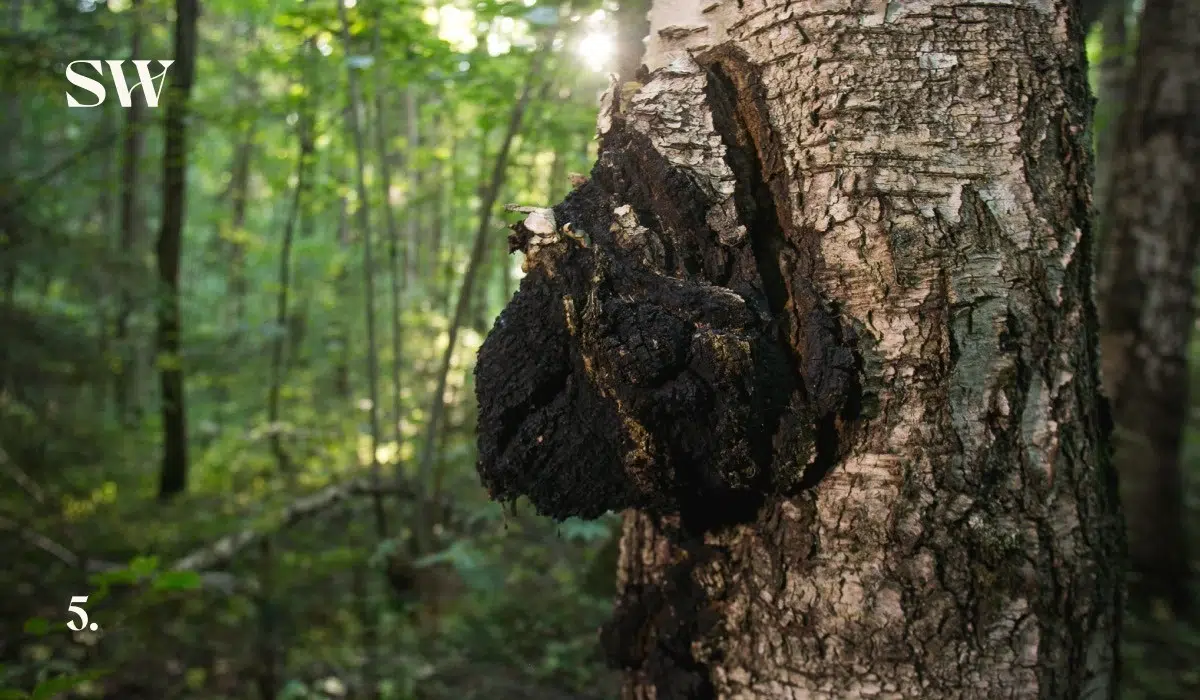
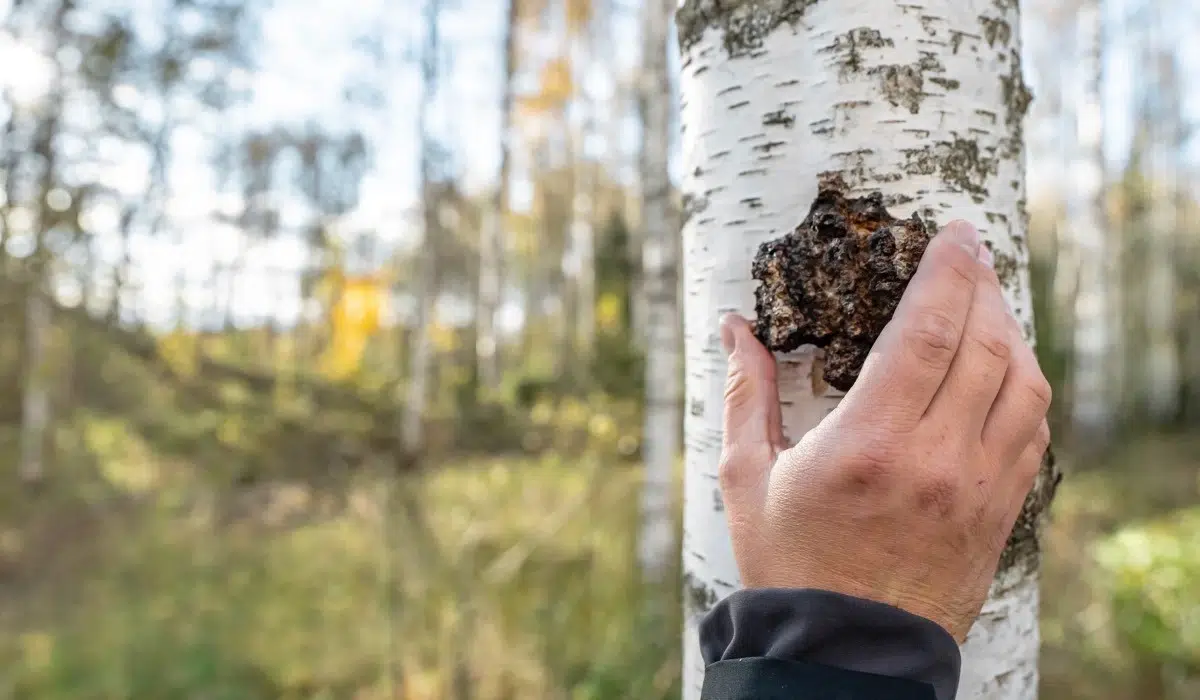
5. Chaga is ready to harvest – Your Chaga is ripe for harvesting, weighs up to 5kg and, thanks to Estonian nature, probably contains more bioactive compounds than any other Chaga in the world.
We hope these simple steps will help you better understand how you can start growing Chaga in your own forest or monitor the progress of your already growing mushrooms.
If you have any questions about Chaga cultivation or would like to share your experiences, please contact us!
Together we will take Chaga cultivation in Estonian forests to a new level.